DIY Succulent Terrarium
Confession: I love the current terrarium trend—but they can be so expensive! So a terrarium—with low-maintenance succulents—seemed like a good foray into adding some summer vibes to my home.
To start, I did a bit of research into the layers of a proper terrarium—and then headed out to our Shoreline store. One of the reasons I head to Goodwill Shoreline for many DIY projects is its proximity to the other stores I’ll need to stop at for DIY supplies—like Home Depot, and a couple different craft stores. (Fun Fact: Home Depot is also one of Seattle Goodwill’s employer partners—they hire students who have gone through our job training & education programs.)
To make the terrarium, I used these supplies:
Large river stones (Hobby Lobby)
Small river stones (Found at Goodwill, but originally from Hobby Lobby)
Succulent Potting Dirt (Home Depot)
Succulents (Hope Depot)
Glass jar/container (Goodwill)
Clay Pot for décor (Goodwill)
Sheet Moss (Home Depot)
Assembling the terrarium is quick and easy, and all about layering your materials in the correct order to ensure drainage.
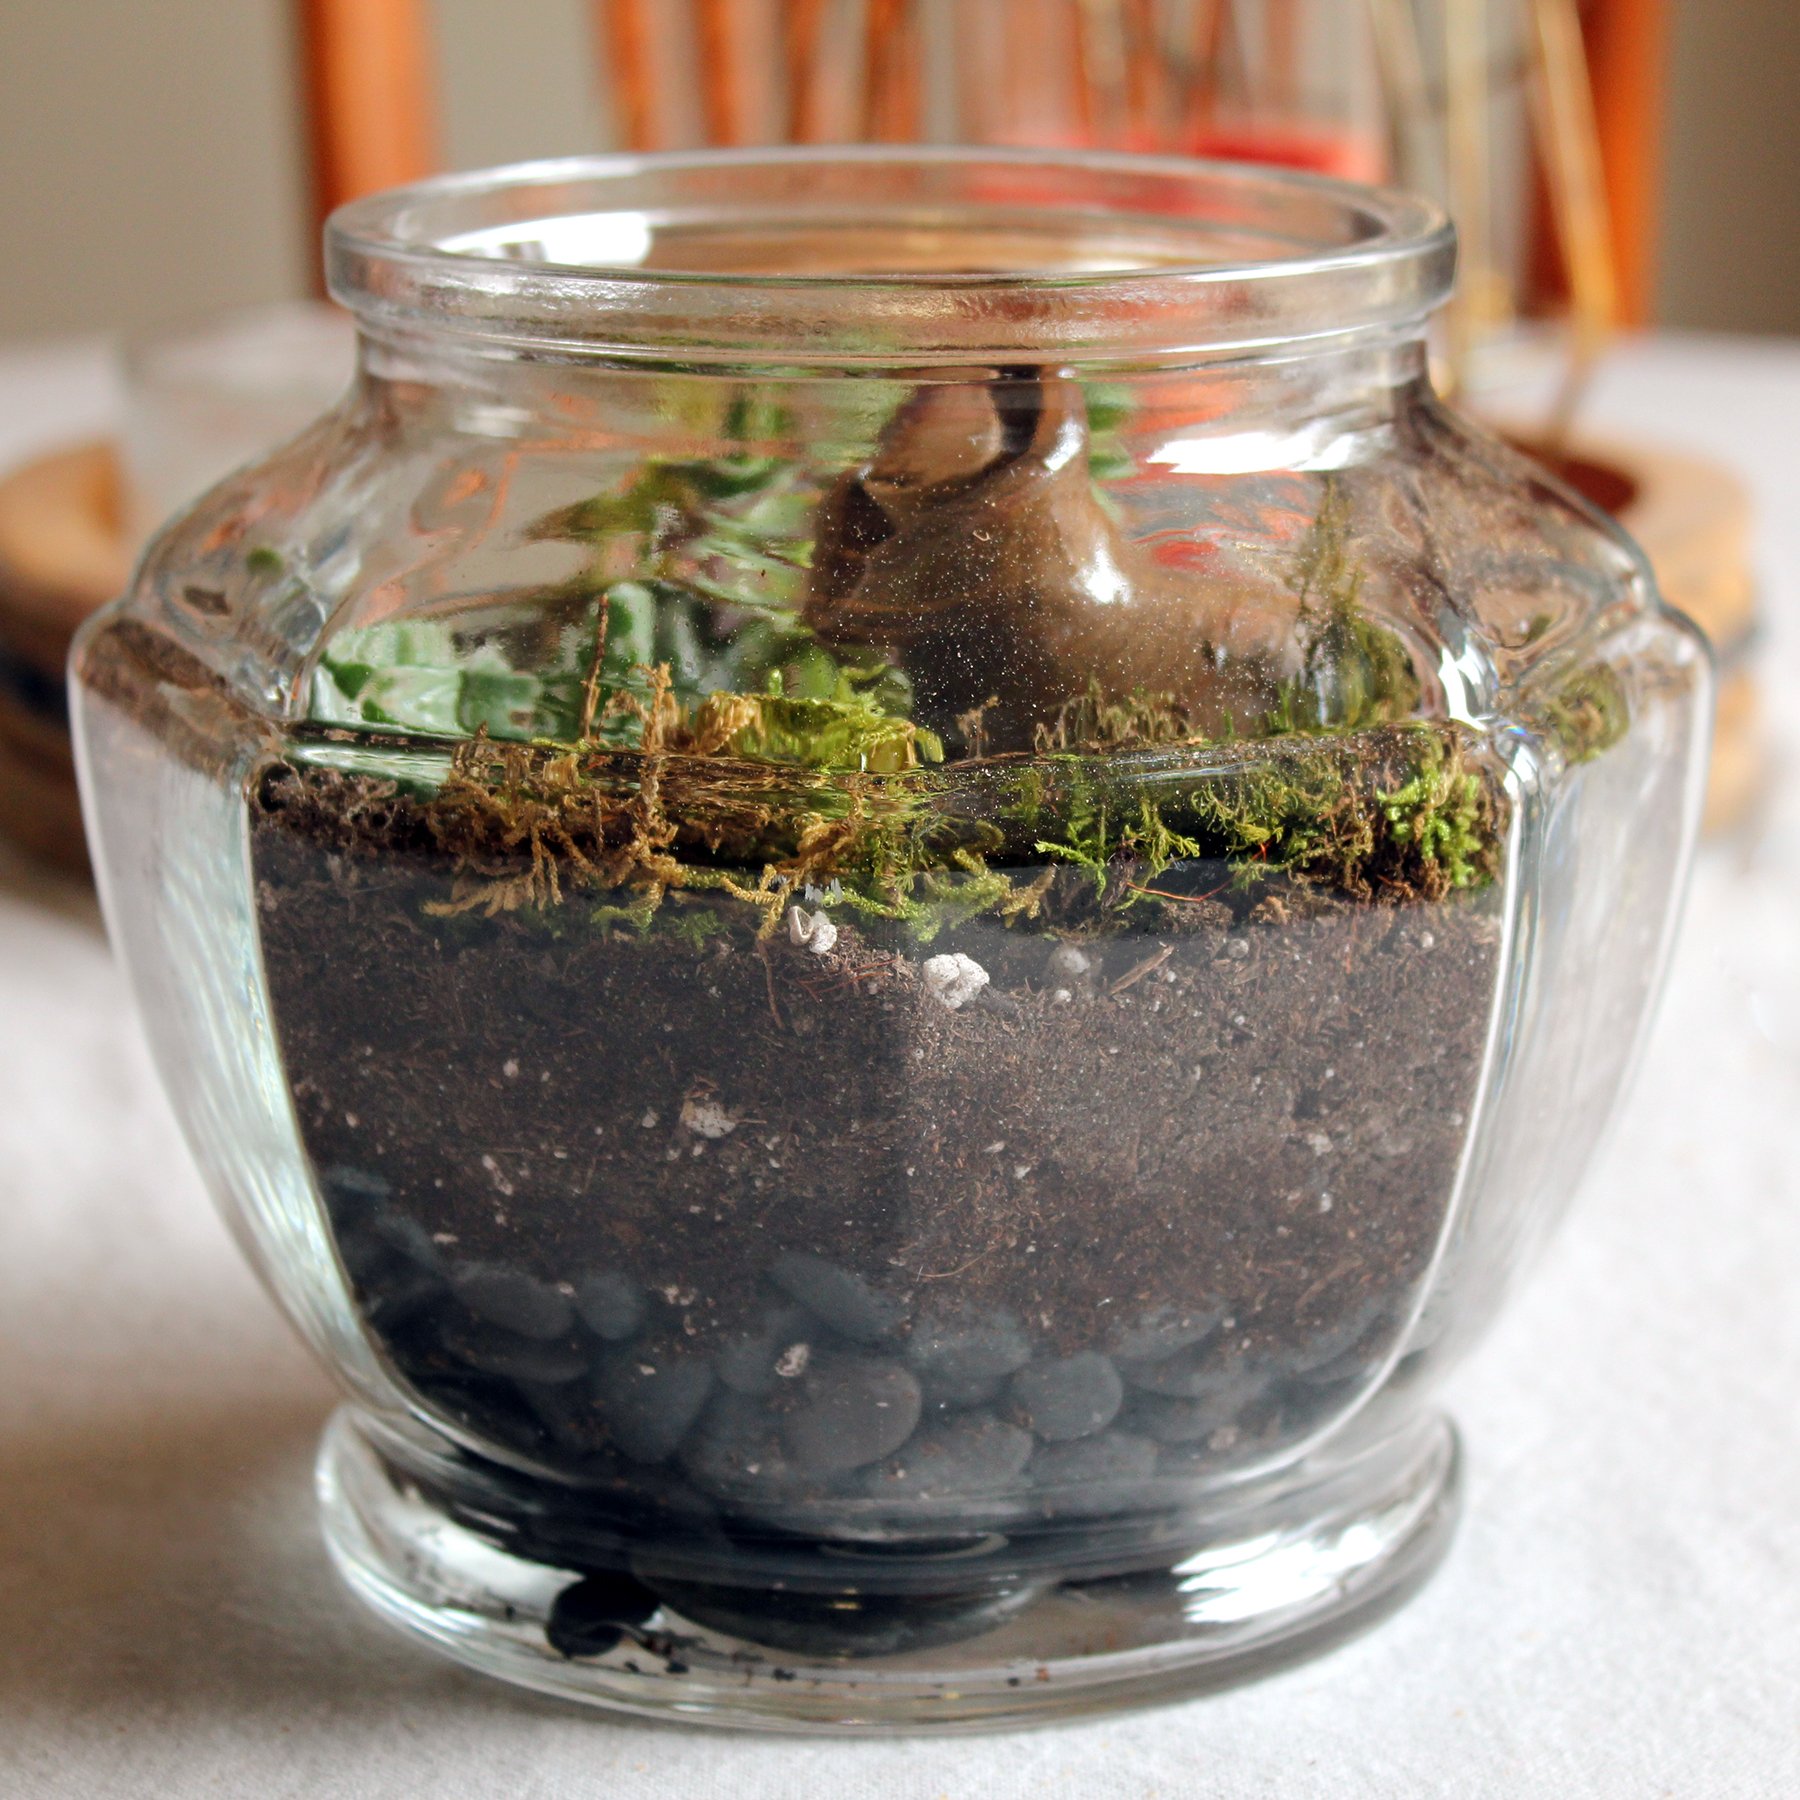
Start with a layer of the large river stones, followed by a layer of the small ones. In total, this should take up about 1/3 of the depth of your container.
Next, add a small layer of dirt, and arrange your succulents in it—adding more dirt to make it level if necessary.
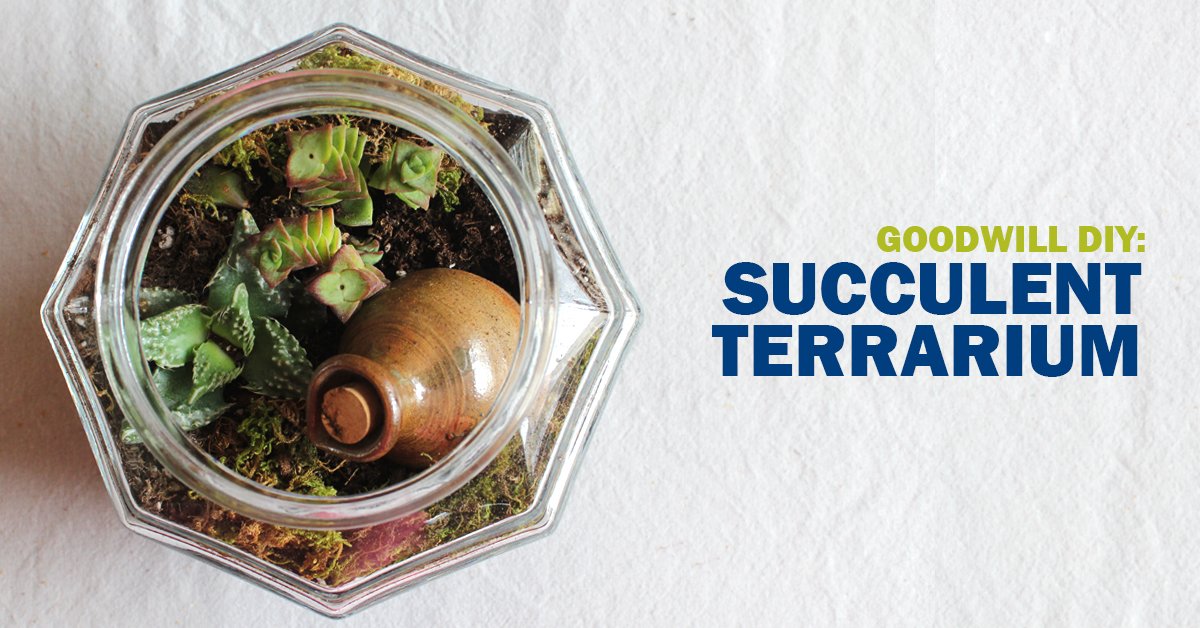
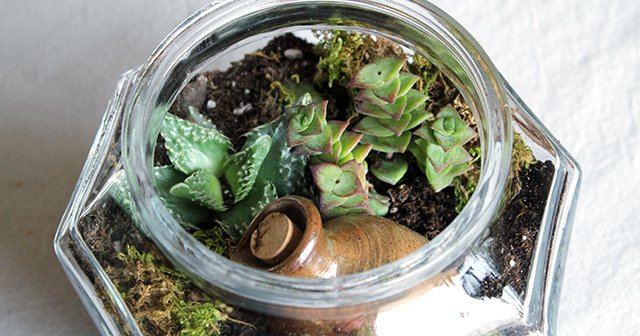
Once your plants are in, add an accent item or two, and fill in some of the area between your plants and décor with a little bit of sheet moss.
Be sure to place your terrarium in a place that has a lot of natural light!
Are you doing DIY projects with your #GoodwillFinds this summer? Tag @SeattleGoodwill and #GoodwillDIY—we’d love to see them!


